Latest
Oct 27 · 42.22 pre-release: ladders and crowbar break-insOct 23 · First-person mods are not officially supportedOct 21 · The Indie Stone on Java mods: download responsiblySep 28 · Build 42.21 Stable: zombie duplication fixesAug 26 · Security fixes on every branchAug 17 · Servers now handle up to 254 playersJul 29 · Build 42 goes Stable

Barricades and securing a building in Project Zomboid

This page covers how to make a building safe in Build 42. It explains plank and metal barricades, curtains and locks, sheet ropes and stair removal, which fences and walls hold zombies back, and a room-by-room routine for the first day. Written for Build 42 (42.22), November 2026.

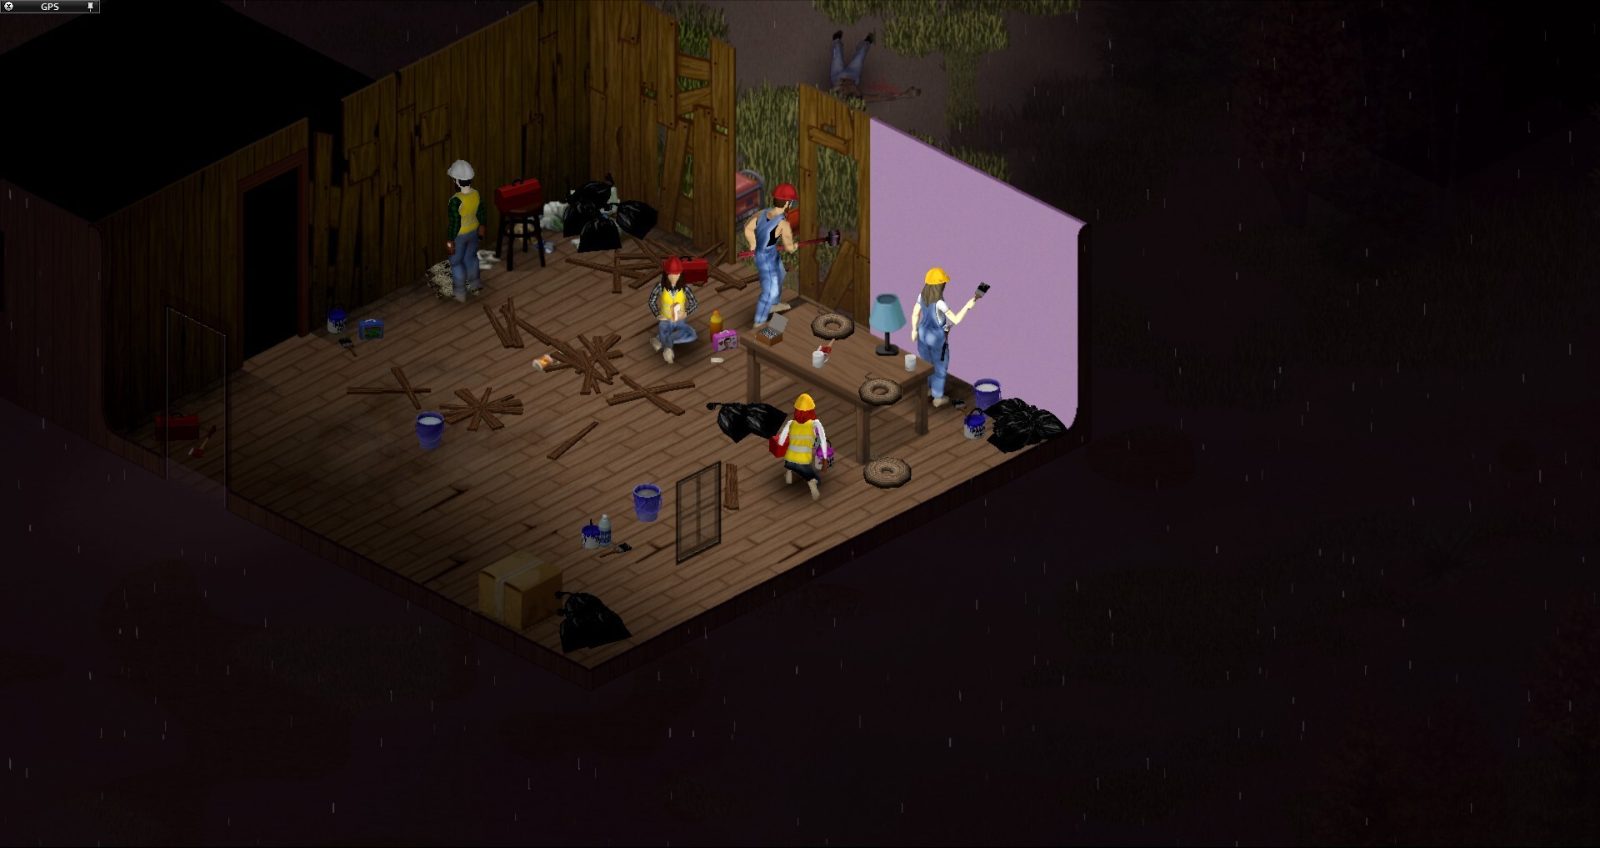
A dark room in Project Zomboid
Planks on the ground-floor windows and a sheet rope upstairs make a house safe enough to sleep in.
01Part

What zombies can break

Nothing you nail to a window is permanent. A barricade is a timer: zombies have to chew through every layer and then the window or door behind it before they can walk in. Standard zombies break glass and plain doors if they keep at it, and they come for you when they see you, hear you or follow other zombies. See zombies and stealth.

No source gives a reliable break-in time, because it depends on how many zombies are hitting the same spot. One guide puts a lightly boarded window at roughly 10 to 20 seconds under pressure (one source).

  • Doors. On the default Apocalypse settings zombies do not open doors, they thump them down (one source). The Cognition option in sandbox settings can let them use doors.
  • Windows. Glass goes first, then they climb through.
  • Things you build. Walls, doors and fences you build take zombie damage only while the Damage Construction option is on. It is on in the standard presets.
02Part

Barricading doors and windows

Stand next to the door or window, right-click it and pick the barricade option. Planks need no carpentry level; skill only makes the job faster. The same options work on doors, but a barricaded door cannot be opened until you take the barricade off. Each side of an opening is counted separately, so one window can carry four planks inside and four outside.

BarricadeMaterialsToolMax per sideHit pointsSee through
Wood planks1 plank and nails per layerHammer in hand4 layers1,000 per plank (one source)Partly
Metal sheet1 sheet plus torch fuelWelding torch15,000 (one source)No
Metal bars3 bars plus torch fuelWelding torch13,000 (one source)Yes

Sources disagree on three details. Two Build 42 guides say each plank takes 2 nails and a third says 1. One says metal barricades need Welding 3 and welding rods, another says only the torch and the metal. They also split on whether a welder mask is needed. Carry 2 nails per plank and check the tooltip for the metal options in your build.

Loose nails count; a closed box may not until you open it. A claw hammer, ball-peen hammer or stone hammer can board. A club hammer and a sledgehammer cannot (one source). To take planks off you need a claw hammer or crowbar. You get the plank back and lose the nails. Metal comes off with the torch. See tools for where these spawn.

Opinion Two planks on each ground-floor window is enough for a first night. Hammering is loud, so clear the street first and work in short bursts.

03Part

Curtains, sheets and locks

Zombies that cannot see you have less reason to attack the house. Closed curtains block the view in both directions and add no strength at all.

  • Curtains. Click a curtain to open or close it. Right-click to take it down; it becomes a Sheet in your inventory.
  • Sheets. With a Sheet in your inventory, right-click a bare window or door and choose Add Sheet. No tools or nails are listed for this (one source). It then works like a curtain.
  • Light. A lit room behind an uncovered window can draw zombies at night in Build 42 (one source). Close up before you switch anything on. More on lighting.

Lock the outside doors as well. Patch 42.22.2 fixed a bug that stopped you locking external doors from inside without a key, so deadbolts work again. The same patch lets a crowbar force locked doors and windows. A lock does not stop a zombie that decides to thump the door.

04Part

Sheet ropes and destroying stairs

An upstairs base needs a way out that zombies cannot use. Zombies do not climb sheet ropes (one source), but they can attack and destroy a rope that hangs within reach.

  1. Craft the rope: 1 Sheet makes 1 Sheet Rope, with no tools. Ripped sheets do not work. Regular Rope is a full substitute.
  2. Carry one rope per floor of drop. A two-story house needs one.
  3. Go to an upstairs window that is not barricaded. The rope options stay hidden on a barricaded opening.
  4. Right-click and choose Nail Escape Rope. This needs a hammer and 1 nail. Many fences, railings and metal bars offer Tie Escape Rope instead, with no hammer or nail.
  5. Climb with the interact key. Test it once with your normal load before you rely on it.

Climbing costs stamina and can fail on default settings, and a fall from height can kill. The Easy Climbing sandbox option removes the failure chance. One guide warns that an overloaded character falls instead of climbing (one source).

With the rope tested, you can remove the stairs. Equip a sledgehammer, right-click the stairs and choose Destroy. Stairs you built yourself can also be disassembled with a saw and screwdriver. Weapons and fire do not remove stairs. The method comes from a Build 41 era guide; Build 42 guides still recommend it. Patch 42.22.2 added climbable ladders, but only where the map already has ladder tiles, so houses still need ropes.

05Part

Fences, log walls and gates

Fence height decides whether a yard is safe. Players report that zombies get over any low fence, while tall fences such as chain-link compounds and gated communities keep them out. Those reports come from Build 41 era threads; we found no Build 42 source that says it changed. Some tall-looking wooden privacy fences are reported as climbable, so watch a zombie try before you trust one. The weak point is always the gate, which zombies batter down.

If you build your own perimeter, these are the wall figures one Build 42 guide gives (one source). Full detail is on base building.

WallSkill neededMaterialsHit points
Log wallNone4 logs and 4 bindings (ripped sheets, twine or rope)500, plus 50 per Carpentry level
Wooden wall, level 1Carpentry 2Frame, then 2 planks and 4 nails490 at Carpentry 2
Wooden wall, level 3Carpentry 6Frame, then 2 planks and 4 nails770 at Carpentry 6
Metal wall, level 1Welding 3 and a magazineFrame, then sheet metal, rods and torch760 at Welding 3

Log walls suit day-one characters because they need no skill, only an axe, logs and something to tie them with. Damaged walls cannot be repaired in place; you replace the piece. We could not confirm the Build 42 recipe for a log gate or a double wooden gate, so check the Build panel. Opinion Treat any gate as the spot that fails first and put a second door behind it.

06Part

A day-one routine, room by room

Opinion Pick a two-story house with few ground-floor windows, then work through it in this order. It fits the plan in the first week, and base locations covers where to settle later.

WhereWhat to do
OutsideWalk the whole building once. Kill what follows you before you make noise.
Every roomOpen each door with a weapon ready. Clear the house fully, then close all inside doors.
Outside doorsLock the door you will use. Barricade the ones you will not.
Ground-floor windowsClose them and shut the curtains. Hang sheets on bare ones. Add two planks to those facing the street.
Kitchen and living roomKeep lights off until the windows are covered. Cook in daylight.
StairsLeave them for now. Put a closed door between the stairs and where you sleep.
Bedroom upstairsAttach a sheet rope at a window over clear ground. Keep a spare sheet, a nail and the hammer here.
LaterWhen you own a sledgehammer and have tested the rope, destroy the stairs.

Keep two exits from the room you sleep in.

07Part

Quick answers

How many planks can you put on a window in Project Zomboid?

Four on each side. Inside and outside are counted separately, so one window can hold eight planks in total.

Do you need carpentry skill to barricade?

No. Plank barricades have no level requirement and higher Carpentry only shortens the action. Sources disagree on whether metal barricades need Welding 3.

Can zombies climb sheet ropes?

Guides say they cannot climb them, but they can attack and destroy a rope hanging within reach. Zombies reach upper floors by the stairs.

How do you attach a sheet rope?

Craft a Sheet Rope from one Sheet, stand at an unbarricaded upstairs window with a hammer and one nail, right-click and choose Nail Escape Rope. You need one rope per floor of drop.

How do you destroy stairs?

Equip a sledgehammer, right-click the stairs and choose Destroy. Set up and test a sheet rope first, because you will have no other way up or down.

Do curtains stop zombies?

Closed curtains or a hung sheet stop zombies seeing you through the window. They add no strength, so a zombie that attacks the window still breaks in.

Barricade and wall figures come from PZFans guides dated to builds 42.19 and 42.20; most hit point values appear in one source only and are marked. Fence behavior rests on player reports from the Build 41 era and stair removal on an older guide, so treat both as likely but unconfirmed for 42.22. Sources: PZFans: barricading windows (Build 42) · PZFans: attaching sheet rope · PZFans: building walls · projectzomboid.wiki: fortification guide · Patched.gg: 42.22.2 patch notes. Your game is the final word: if it disagrees with us, tell us and we will fix the page.